
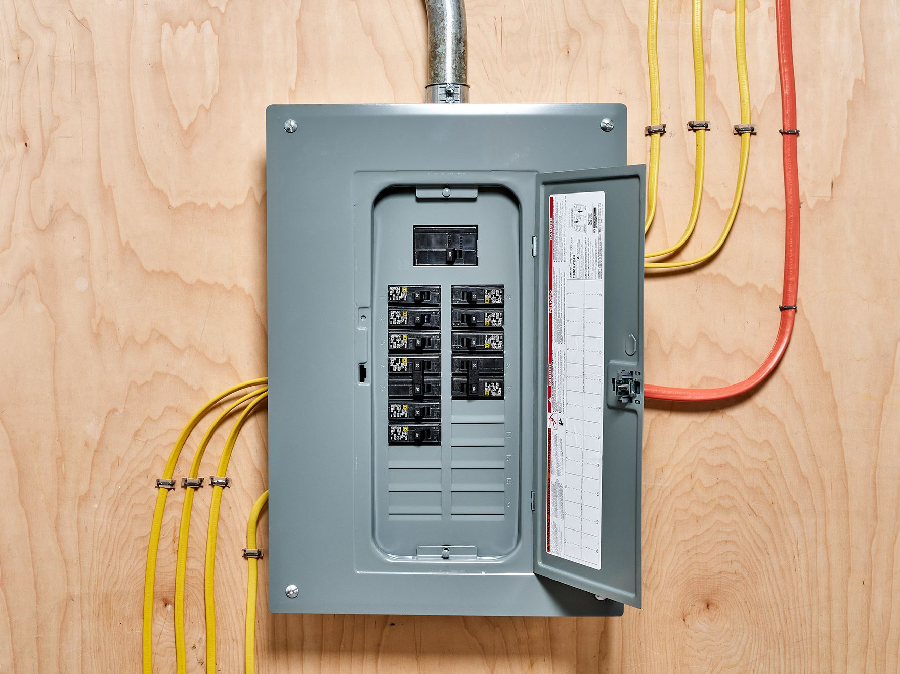
Different branches connect your home’s receptacles, light fixtures, appliances, and buttons. Your breaker box is where it all starts and ends. Electrical panels, load centers, and service panels are all names for breaker boxes.
Therefore, each circuit is secured by such a breaker, sometimes known as a fuse, which will shut it down if one of these situations is detected. In virtually every instance, its installation will be handled by a certified panel installation in Ellisville, MO, instead of a DIYer.
Concerns for Safety
This is not a do-it-yourself activity for most households in Ellisville, Montana. Installing a breaker panel can be extremely risky if you’re not a professional.
In most Montana localities, you won’t be able to conduct this type of electrical work independently, thanks to the building codes. It requires coordination with a certified panel installation in Ellisville, MO.
Required Tools and Equipment
Installing the first circuit is a complex and perhaps risky task. With step-by-step directions and crucial, life-saving safety guidelines, this will educate you on how to do it.
- Tester for voltage
- Screwdrivers
- Hammer
- Level
- Cable Ripper
- Electrician’s fish tape
- Strippers for wires
- Circuit breaker
- Electrical staples with cable clamps
Step-by-Step Instructions
Step 1: Check for power on the feeder wires.
The electrician initially double-checks that the power utility provider has turned off the power to the feeder lines. They’ll use a voltage tester to examine the feeder wires to ensure this is the case.
Step 02: Turn off the computer and then unscrew the cover.
- Before you turn off the power, shut off all devices in the household.
- After that, turn off the main breaker (the service disconnect)
Professional tip: If it slides when loosening screws, the breaker grips may be damaged.
Step 03: Check to see if it’s still “On”
It’s risky to believe that the electricity is off just because you’ve switched the service disconnection to the “off” setting. Verify that all electricity is turned off.
It’s possible that the service disconnection didn’t work correctly, allowing power to flow through some breakers.
So make sure each breaker is indeed dead by testing it.
Step 04: Installing the Circuit Breaker Panel
The circuit breaker panel is then positioned, leveled, and secured to the wall with bolts or pegs pushed through the rear of the panel and into the surface.
Step 05: Main Service Wires must be installed.
A fish tape is fed from within the panel through the direct service conduit entry.
Step 06: Attach the Ground Wire to the Main Ground.
The primary grounding wire is supplied into the panel and linked to the significant grounding connector, usually a huge bare copper wire.
Step 07: Clamp and Strip
- Connect the cables to the breaker before installing it in the box, or attach them first, then the cables.
Step 08: Seal the deal by testing the setup
- Loosen the knockout on the panel box of the cover plate corresponding to the slot where the new breaker was fitted (bend it back and forth until it breaks off).
- After that, put the lid on and switch on the main breaker.
- Set the new breaker to “ON” mode.
- After a brief pause, push the “TEST” button.
- The circuit breaker should be tripped.
In the End
Installing a circuit breaker panel isn’t a DIY activity and should be left to professionals. However, one should know about it to be prepared in case of emergencies.